Directions for How to Accurately Measure for a New Storm Door
Before you order a storm door, you will need to measure your current entry door opening and trim to make sure the storm door will fit and to determine the storm door size you need.
1. Measure the exterior trim mounting surfaces.
Using the image on the right, measure and note Dimensions A, B, and C of your entry door to ensure the door opening and trim allow enough space for a storm door.
Below are the requirements for a storm door.
- DIMENSION A: Minimum ¾-inch width flat trim surface required.
- DIMENSION B: Minimum 1-inch trim (brickmould) depth required.
- DIMENSION C: Minimum of 2½-inch door frame (jamb) depth required. *
*Note: Depending on the depth and location of your entry door's handle set, additional clearance may be needed.
2. Measure the entry door opening to determine the storm door size you need.
- WIDTH MEASUREMENT: Measure the width of the door opening at the inside face of exterior trim on each side at top, center, and bottom and record the shortest measurement. (See measure points W1, W2, and W3 in the illustration at right.)
- HEIGHT MEASUREMENT: Measure for the height from the sill to the underside of the brickmould at the top. (See measure point H in the illustration at right.)
3. Use the image below to determine the storm door size that you need based on your entry door opening measurements and the storm door model you select.
If your measurements fall outside the standard width or height ranges shown below, you will require a custom-size door.
4. Choose the door handing that works best for your entryway.
The handing of a door should always be determined from the outside of the home.
Installation System Options
 (Opens in a new tab)
Rapid Install 1
The easiest installation option in the market today. Designed with the DIY audience in mind, we prehang the door so there is no cutting, minimal drilling and virtually no measuring required. We cut the Z-bars to length, assemble them on the door and drill the handle holes so you don't have to. Simply take the door out of the package and set it in the opening. The entire install takes less than an hour.*
 (Opens in a new tab)
Rapid Install 2
Offers a universally handed option, designed with the DIY audience in mind. We provide an unassembled door with Z-bars cut to length to save time on the job site. The process takes less than two hours, and no cutting is required.*
 (Opens in a new tab)
Pro Install
Designed with the professional installer in mind. We provide an unassembled door with a Z-bar of 81-inch that can be cut to length. An adjustable U-channel sweep makes necessary adjustments easy once the door in installed. The handle holes are predrilled to save time on the job, and our twist-to-lock hardware installation makes for a quality, easy install.*
Installation videos
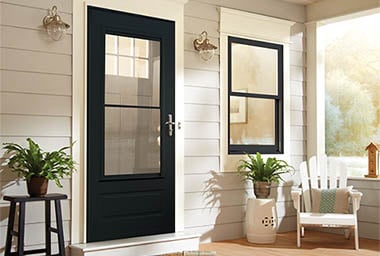
How to measure
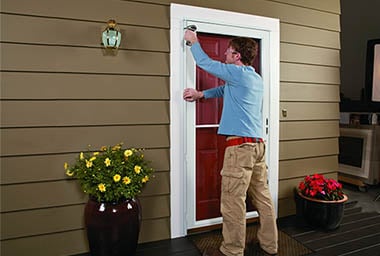
45 minute installation system
How to install
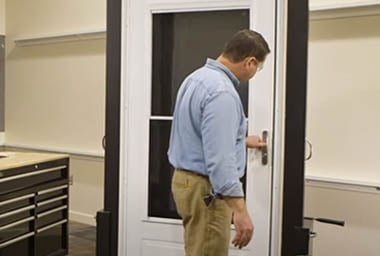
2 hour installation system
How to install
Installation by door type
Fullview Interchangeable | Rapid Install 1 | Rapid Install 2 | Pro Install |
|---|---|---|---|
Fullview Retractable | Rapid Install 1 | Rapid Install 2 | Pro Install |
3/4 Light Ventilating | Rapid Install 1 | Rapid Install 2 | Pro Install |
1/2 Light Ventilating | Rapid Install 1 | Rapid Install 2 | Pro Install |