Projects
4 secrets to nailing a kitchen renovation
She’d lived with her kitchen for seven years, but the pandemic put Rashida Banks over the edge. Spending so much time at home, the blogger and DIYer realized she’d had enough of the existing space.
In 2021, she undertook a renovation, and the results speak for themselves. But one thing you can’t tell from looking at the pictures is that she pulled this renovation off without breaking the bank. Lucky for all of us, she’s sharing her experience.
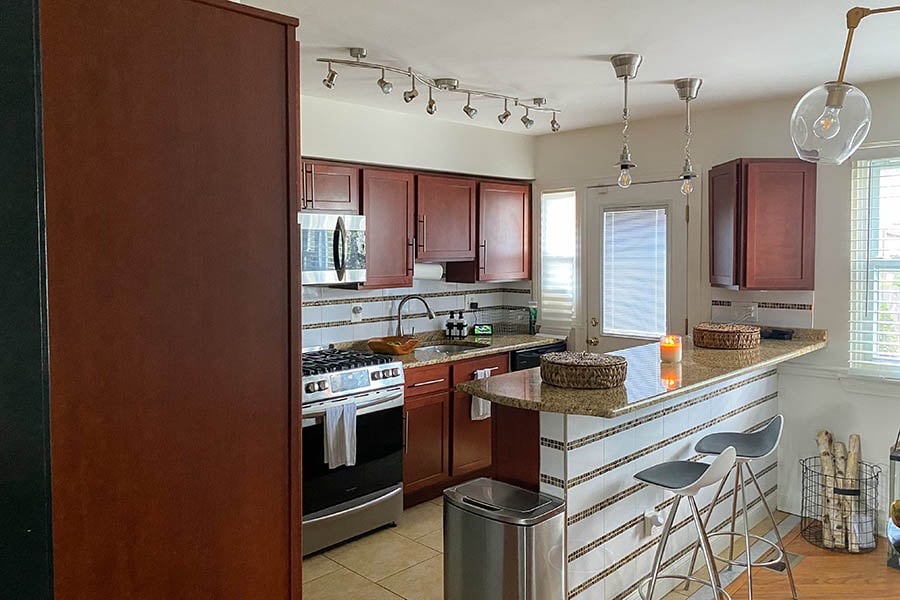
Before the renovation, Rashida’s kitchen was classic early 2000s with all that implies, right down to the granite countertops and cherry cabinets.
1. A focused vision is key
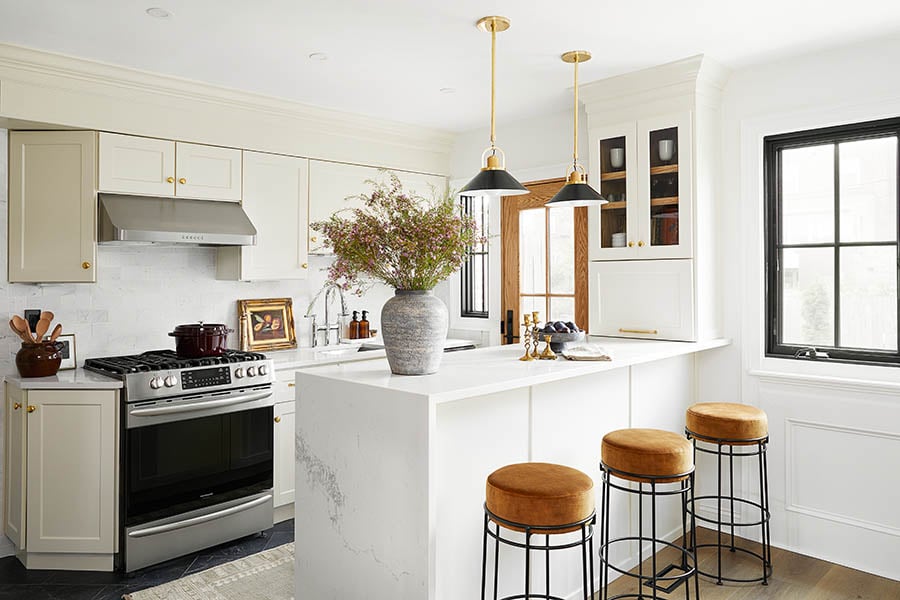
Banks had a vision of a modern classic kitchen in creamy shades of white. To make it happen, she decided to focus on surface renovations rather than layout. “I wanted every finish to change,” Banks said. This meant redoing the cabinetry, flooring, countertops and even windows and a door.
“I needed a showstopper” she said. It came in the form of an unfinished oak door, which anchors the entire space and provides a warm contrast to the cream color scheme. To further that contrast, she also updated her windows with black frames and a 2-over-2 grille pattern. The combination of the contemporary color with a traditional grille pattern was a perfect match for her modern-classic vision.
She chose to include windows and doors in her renovation too, instead of waiting to replace them. This gave her the chance to use them as focal points in her design, creating a stronger and more cohesive aesthetic.
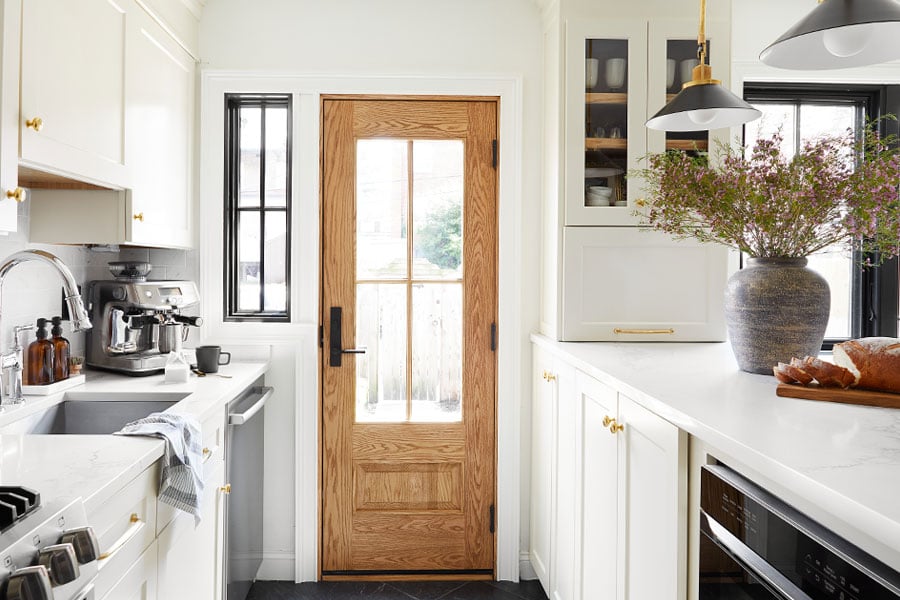
Banks selected an unfinished oak Straight Line 181 panel style door with custom grilles. “I wanted a door that made me smile every time I walked in from the grocery store but also a door that my pups would adore,” Banks said.
2. There’s a right way to DIY
To create her dream kitchen, Banks was willing to get her hands dirty. As an experienced DIYer, she has her process down.
- Create a vision. Her go-to sources of inspiration include Pinterest, Architectural Digest, Elle Decor, the House and Home YouTube Channel and a few favorite designers on Instagram.
- Do your research. “I did so much research — hours and hours,” Banks said. “I watched a ton of YouTube and just pulled from what I thought was best for my project.”
- Order your materials. “Have all your material on hand, ordered before starting, if possible,” she said. You want to avoid putting things on pause because the necessary materials haven’t arrived.
- Set up a support system! Banks recommends the “phone-a-friend" route. “I actually did my renovation alongside one of my friends, and it was so helpful because she understood my pain,” she said.
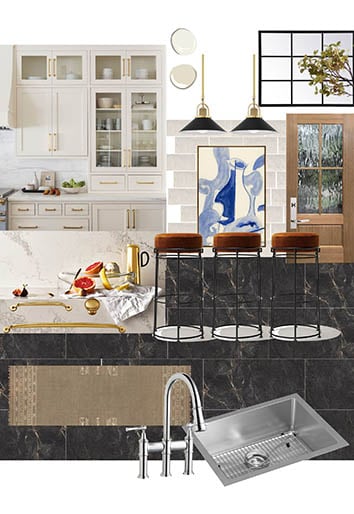
A mood board helped Banks pull together her inspiration and create a focused vision for her project.
While Banks DIYed much of this renovation — even painting her own cabinets — she also looked to professionals for a few tasks. Find out why in the next section.
3. Sometimes you need a professional
At first, Banks figured she’d manage the entire renovation herself but later realized that wasn’t the best plan. “There’s nothing wrong with being your own general contractor unless you’re ordering custom materials that you've never ordered before, such as windows and doors,” she said.
Banks learned this lesson the hard way when her new door arrived several inches too small. “I can laugh about it now, but at the time I was so confused, because I had measured several times to be sure.”
The problem was that she had measured the existing door, instead of the outer dimensions of the exterior door frame (frame measurements are more accurate, because frames and doors are typically replaced together). Luckily, she was able to work through the problem with the help of a contactor and today has a properly sized and installed door.
“The moral of the story is, just get a professional to do everything concerning your windows and doors. Trust me, it's worth it!” she said.
“There’s nothing wrong with being your own general contractor unless you’re ordering custom materials that you've never ordered before, such as windows and doors,” - Rashida Banks
Banks’ transformation is more than just aesthetically pleasing. By adding A-Series windows and a Straight Line 181 panel style door to her project, she also increased natural light and access to fresh breezes.
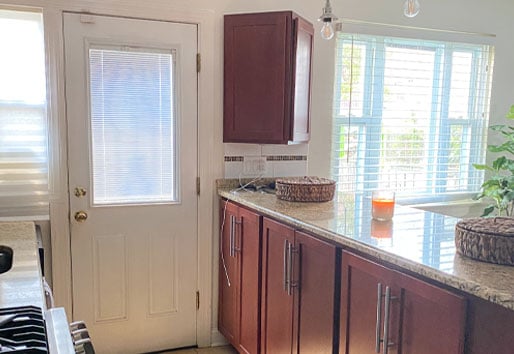
Before
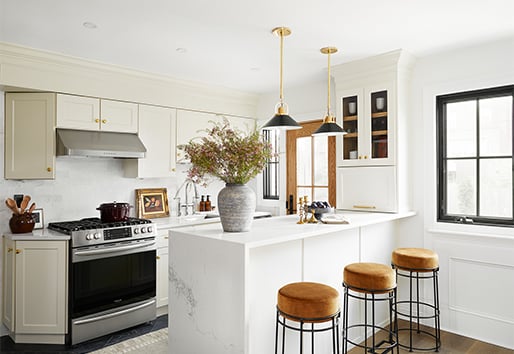
After
4. Good budgeting is about balance, not penny pinching
Banks is a master at figuring out where to save and where to spend. Here’s how she does it.
- Her number one money-saving secret: Keep the bones intact. Banks estimates she saved $10,000–15,000 by updating cabinet faces and leaving the existing structure.
- Banks advises those completing similar renovations to reserve 20% of their budget for unforeseen expenses and emergencies so they don’t overspend.
- Smart savings allowed her to splurge on the door, pendant lights and barstools. “They are the stars of the kitchen,” she said. “Without them, the kitchen is just creamy and neutral.”
Banks advises those completing similar renovations to reserve 20% of their budget for unforeseen expenses and emergencies so they don’t overspend.
So, there you have it: Proof that even the most notoriously expensive home project can turn out beautiful and on budget!
Searching for the right windows for your renovation? We’ve got a cheat sheet that’ll help you select the perfect modern windows to match your home’s style.
Searching for the right windows for your renovation? We’ve got a cheat sheet that’ll help you select the perfect modern windows to match your home’s style.