Windows and water management
How one coastal builder approaches installation
The pros at Sweenor Builders explain their method of installing windows in a way that helps keep water out.
Sweenor Builders has decades of experience building along the Rhode Island coast, so if there’s something they know a lot about, it’s water management. In this video they explain their process for installing windows in a way that keeps water out.
Every installation is different, and we recommend consulting our installation guide configurator for detailed instructions on the product you’re installing.
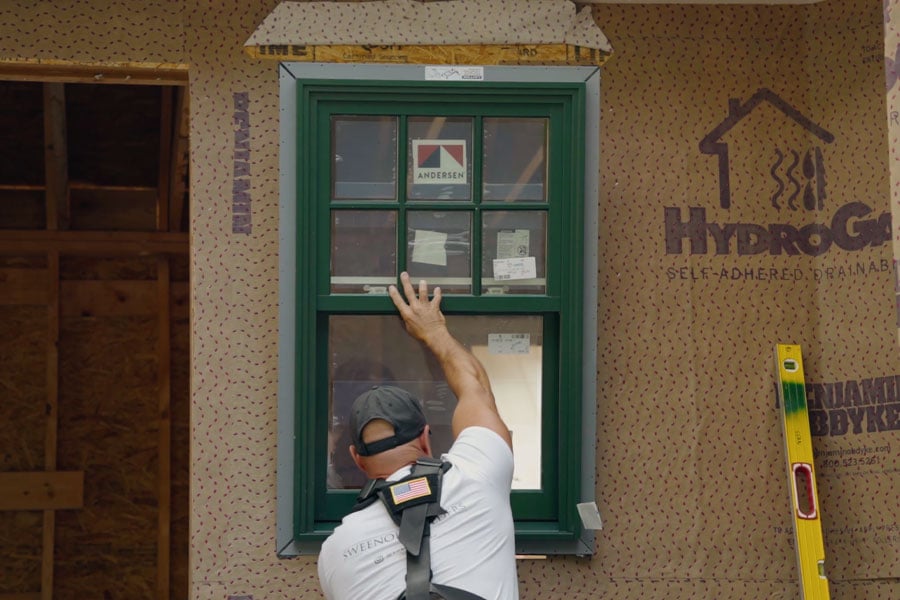
How to install windows for superior water management
Here’s a recap of the installation process followed by Lead Carpenter Adam Spink of Sweenor Builders in the video above.
Preparing the rough opening
Spink and team wrapped the home with a water-resistive barrier (WRB) overlapping the flange of the sill pan and extending halfway inside the window’s rough opening. It’s important to note they only extended the WRB halfway inside the rough opening. They did this to ensure it was well-adhered to the stud so any intruding water would run off the WRB and drip into the pan, all without getting in the way of the insulation (as can happen if the WRB extends too far into the house). They added sealant behind the edge of the flange to prevent air from pulling inside, in the case of negative pressure.
Preparing the window
Spink caulked the window with sealant. He used the drainage method of installation, leaving the bottom of the window unsealed, so any intruding water drains into the sill pan.
Installing the window
- He lifted the window into the opening and centered it. He checked for level and recommended starting at the top because it’s easier to adjust from the bottom, if needed.
- He then turned to the sides where he checked for plumb, nailed in the top hole on both sides, and checked for square before nailing down both sides.
- Next, he added flashing tape down both sides of the window using the lapping principle. Just as he took care to lap over the sill pan with WRB, he did the same with the flashing tape, layering it over the flange beginning a few inches above the window and extending the tape a few inches below the window at the bottom.
- He then taped off the top of the window, running the tape tight to the window and overlapping beyond the flashing tape on both the left and right sides of the window so everything drains down.
- In applying the flashing tape, he recommended using a roller or patting down the tape to ensure a good adhesion for an airtight and watertight seal.
- Finally, he folded down the WRB that was slit from the top two corners of the window and rolled up before installation. He flashed the slits with tape — again, employing the lapping principle.
Ready to get started with your own installation? We’ll help you find the detailed instructions you need with our installation guide configurator.