Installing 100 Series windows with builder Jake Bruton
High-performance builder Jake Bruton of Aarow Building explains how he approaches window installation in this Onsite with Andersen video.
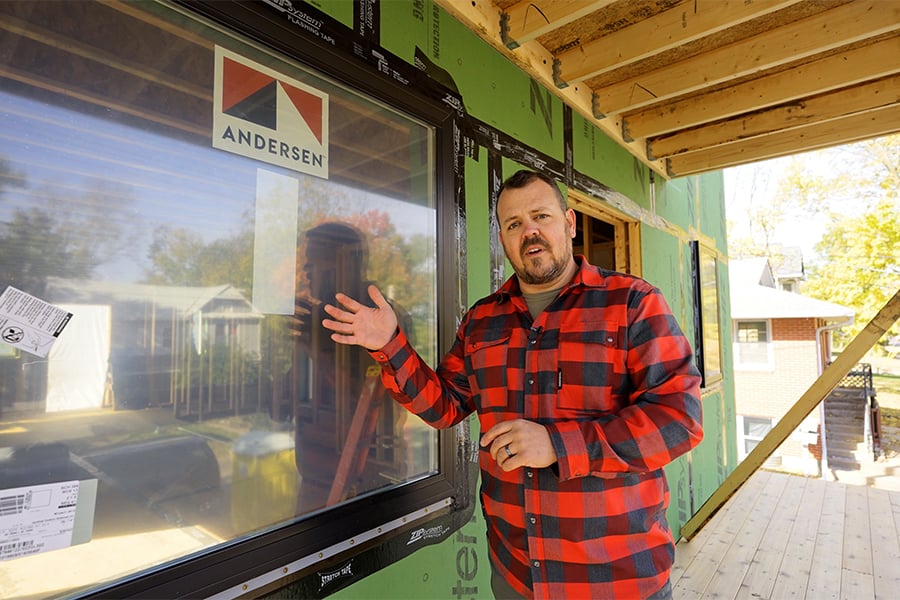
High-performance builder Jake Bruton of Aarow Building explains how he approaches window installation in this Onsite with Andersen video.
“We’re looking for continuity in our water management, we’re looking for continuity in our air control layers, and we’re looking for our thermal control layer to be continuous as well,” Bruton said. Here’s a recap of the window installation process he followed to achieve all this.
The water control layer used consisted of ZIP System sheathing, tape, and sealants, along with our 100 Series windows. He noted that there are a lot of different water control systems, but no matter which one you choose, “the key is to understand what you’re asking the product to do and why.” To connect the window to the water control layer in a way that will properly manage water, he first sealed the sides using ZIP tape. Then, he sealed the top jamb, again using ZIP tape. This approach makes sure everything laps over the layer below, and water will shed below the window. He used the drainage method of installation, which leaves the bottom flange of the window unsealed. This is done so that any water that gets inside the rough opening, either because of an installation error or other failure, can find its way out. The sill was waterproofed with ZIP tape that continued down below the sill, so any potential water will drain outside the building envelope.
He then turned to the process of creating a continuous air control layer. To make sure the open bottom flange won’t cause an air leak, the team added ZIP sheathing — the air control layer — inside the rough opening. Then, a fluid-applied sealant was added on the inside of the rough opening to enable a continuous air barrier layer.
He used a backer rod behind the sealant for thermal control. In their fairly mild climate — Missouri is zone four — this will provide sufficient insulation. What was important was the continuity of the other two control layers.
Before the window was installed, the team checked the rough opening size to make sure the window would fit. They also opened the window packaging and inspected the product.
The window was set in place and centered. Shims were set underneath both right and left sides as well as below the join — the example used in this video is actually two windows that were joined together at the factory. They then used screws to tack through the nailing flange in the top two corners and checked for level, plumb, and square again, before finally checking operation.
Checking for square and operation are two steps he emphasized as “super important” because a window that isn’t square will not operate properly. So, his team opened and closed the window and locked and unlocked the window multiple times to test its operation. Once they were satisfied with the window’s operation, they screwed in both sides and finally the top.
ZIP flashing tape was run over the nailing flanges on both side jambs and then over the nailing flange on the head jamb. The tape was rolled, and the water control layer was complete.
From the inside, they connected the air and thermal control layers with sealant over the backer rod. With the application of the sealant to the side and top jambs, the layers were connected continuously.
With that, the window was securely fastened in the opening, water was controlled for on the outside and air and thermal were controlled for on the interface of the window.
Finally, Bruton noted that they always leave window film on the window’s interior to make cleanup easier later. This also ensures that the homeowner has the details associated with their windows since each window’s sticker details important information like performance and is unique and irreplaceable.
Up next: Learn more about 100 Series windows or find the installation instructions you need.